


Agricultural operations are becoming more efficient-have you noticed? Efficiency is defined as using the least amount of input to achieve the highest amount of output. And any business person, engineer or farmer knows that efficiency saves money. Still, there is one critical piece of equipment on every farm that sometimes is forgotten when we talk efficiency: the airblast sprayer.
When I think of maximizing the efficiency of an airblast application, I think of coverage. Spray coverage is the opposite of drift, and good spray coverage on the target, while minimizing off-site pesticide movement, is the goal when we take the sprayer out.
Here, some tips for improving the efficiency of your airblast sprayer.
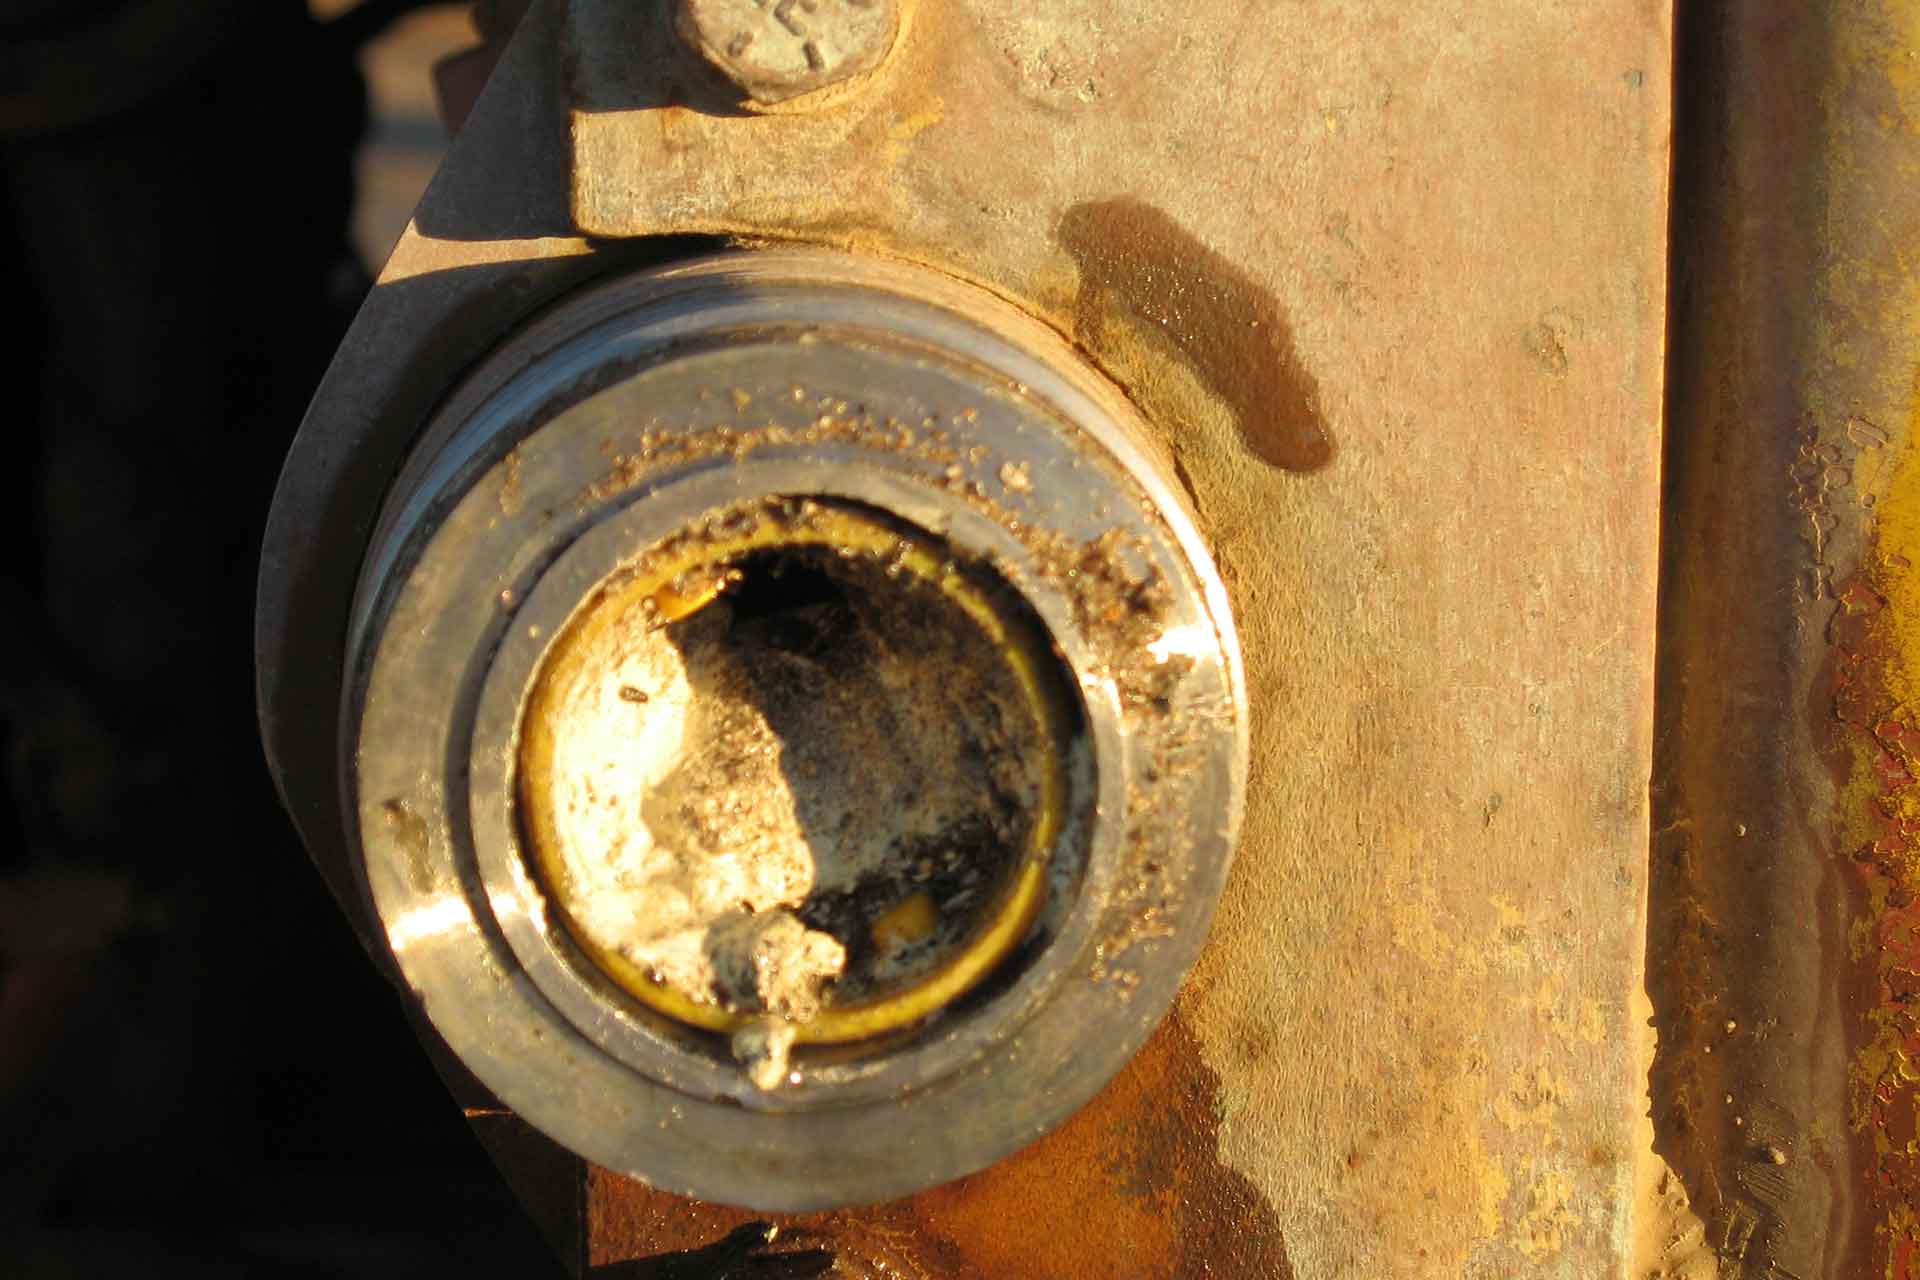
- Take care of your equipment, understand how it works. Don’t ignore the basics. Keep a clean machine. Cleaning improves the life of the sprayer, reduces the chance of cross-contamination of pesticides and crop injury, and improves spray quality. Although this is a “duh”, I often encounter sprayer problems that are due to neglect of the basics:
- The pump pre- and post- filters should be cleaned at the end or start of every spray day.
- Likewise, the nozzle strainers. Cleaning the filters doesn’t take much time but can make a huge difference in the application.
- Replace the nozzles annually at least. Enough said.
- The fan grill should be clear of leaves and debris so it can intake air.
- Be sure that the agitation-either mechanical or hydraulic-is working properly-this ensures a uniform pesticide suspension.
- Make sure your pressure gauge is easy to read, uses a scale that makes sense for your typical spray pressure (no need to go to 1000 psi), and check the pressure gauge against another gauge for accuracy.
- Check your calibration variables to make sure they are accurate. Calibration is an essential part of sprayer efficiency. I prefer to use the basic calibration formula, which works with any sprayer and is easy to remember:
Spray volume (GPA, gallons per acre) = Flow rate (GPM, gallons per minute)
Land rate (APM, acres per minute).
No matter what formula you choose to use to calibrate, the variables you need to measure are the same: nozzle output, tractor ground speed, and spray swath width.
Nozzle output (flow rate) is a function of the pressure and the type of nozzle. You can check this in the nozzle manufacturer’s catalog-most are available online. But you should also confirm by measuring the flow rate because the output can change when nozzles wear, or when the pressure differs from that listed in the catalog. I’ve found that even new nozzles can have flow rates that differ significantly from what is expected.
To measure the entire sprayer flow rate, follow these steps:
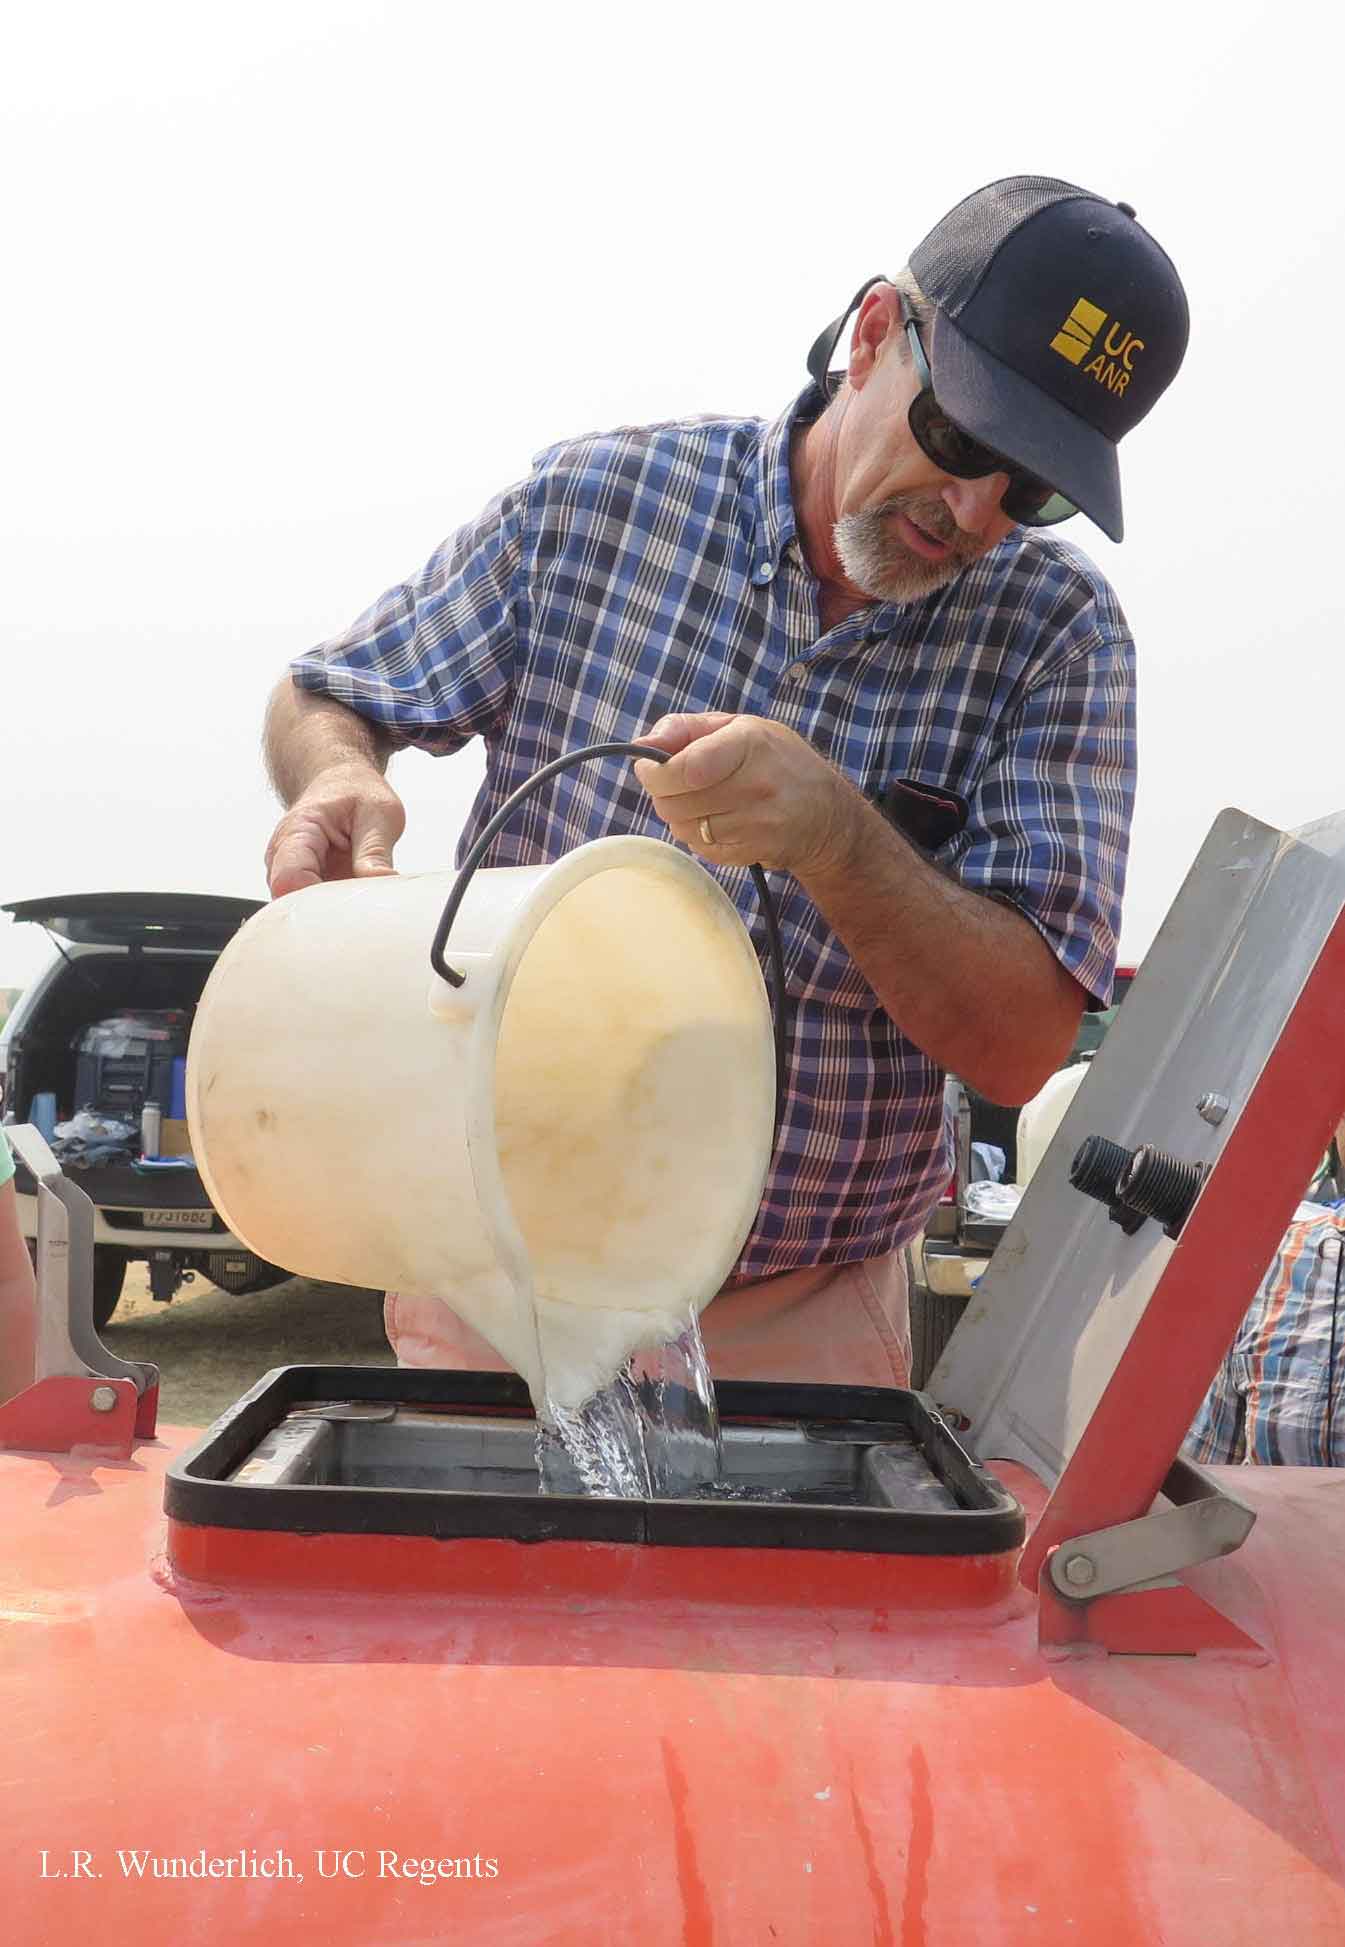
- Park the sprayer on a level surface. Fill the tank with clean water up to a verifiable spot at the top of the tank—usually you can see a line at the strainer or even make a mark with a Sharpie.
- Working with the driver, bring the PTO or engine up to operating RPMs (540) and open all the nozzles while timing with a stopwatch how long they are open. You’ll want to keep them open for a minute or two. Check to confirm the pressure while they are open (you’ll need to wear PPE, personal protective equipment because you’ll get wet!). Be sure to stop your stopwatch when the nozzles are shut off and use that time for your calculation.
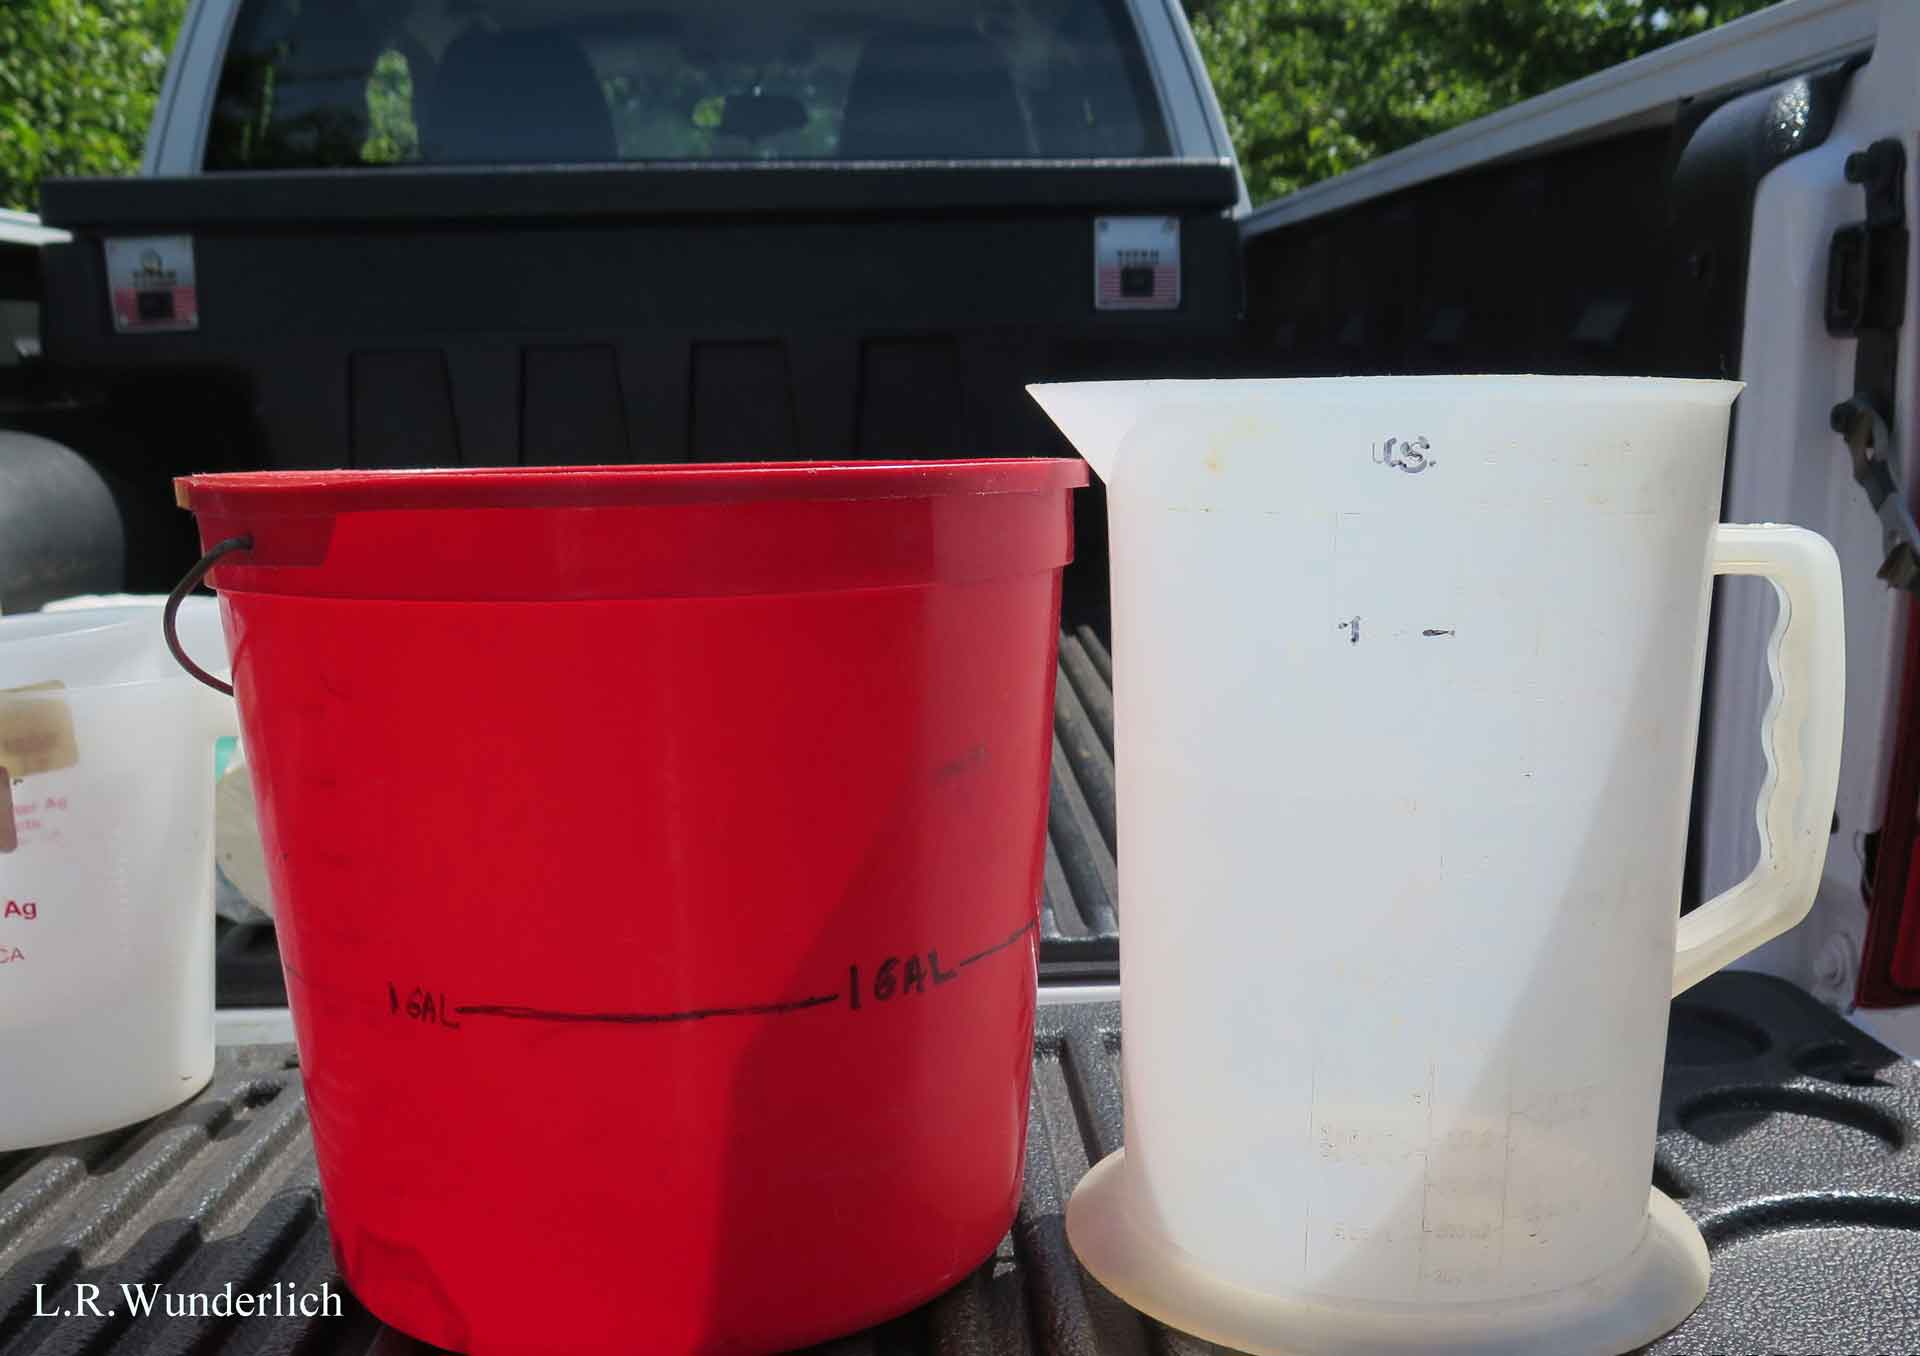
. - Refill the sprayer up to your line and record how much water it takes to refill. Be sure to use a bucket that has been calibrated itself to make accurate measurements. Then divide the number of gallons it took to refill by the time to get the gallons per minute.
This method gives you output of the entire sprayer, all nozzles. If you want to measure individual nozzle flow rates, you will need to either make or purchase a nozzle adapter, to fit over the nozzle with a hose attached to capture the flow. We’ve made an adapter from dishwasher plumbing supplies, brass hose bibs and hose clamps. AAMS Salvarani manufacturing in Belgium is a source to purchase nozzle adapters.
Once you have the actual sprayer flow rate, confirm your tractor ground speed. Don’t rely on the tractor speedometer, these are notoriously erroneous as they are typically set with the tires at the place of manufacturing. When tire sizes are changed, as they often are once the tractor reaches the sale point, the number of rotations and corresponding speedometer mph will be affected.
To check the tractor speed, measure out at least 100 feet in the terrain you’ll be working in, note the tractor gear and setting, and time the travel. This is typically in seconds, so you’ll need to convert to distance travelled over time in minutes to get feet per minute.
Land rate is defined as the swath width in feet multiplied by the ground speed in feet per minute. Swath width in orchards and vineyards is the row spacing, in feet. From the square feet, or area sprayed, you can then do the conversions to acres sprayed per minute.
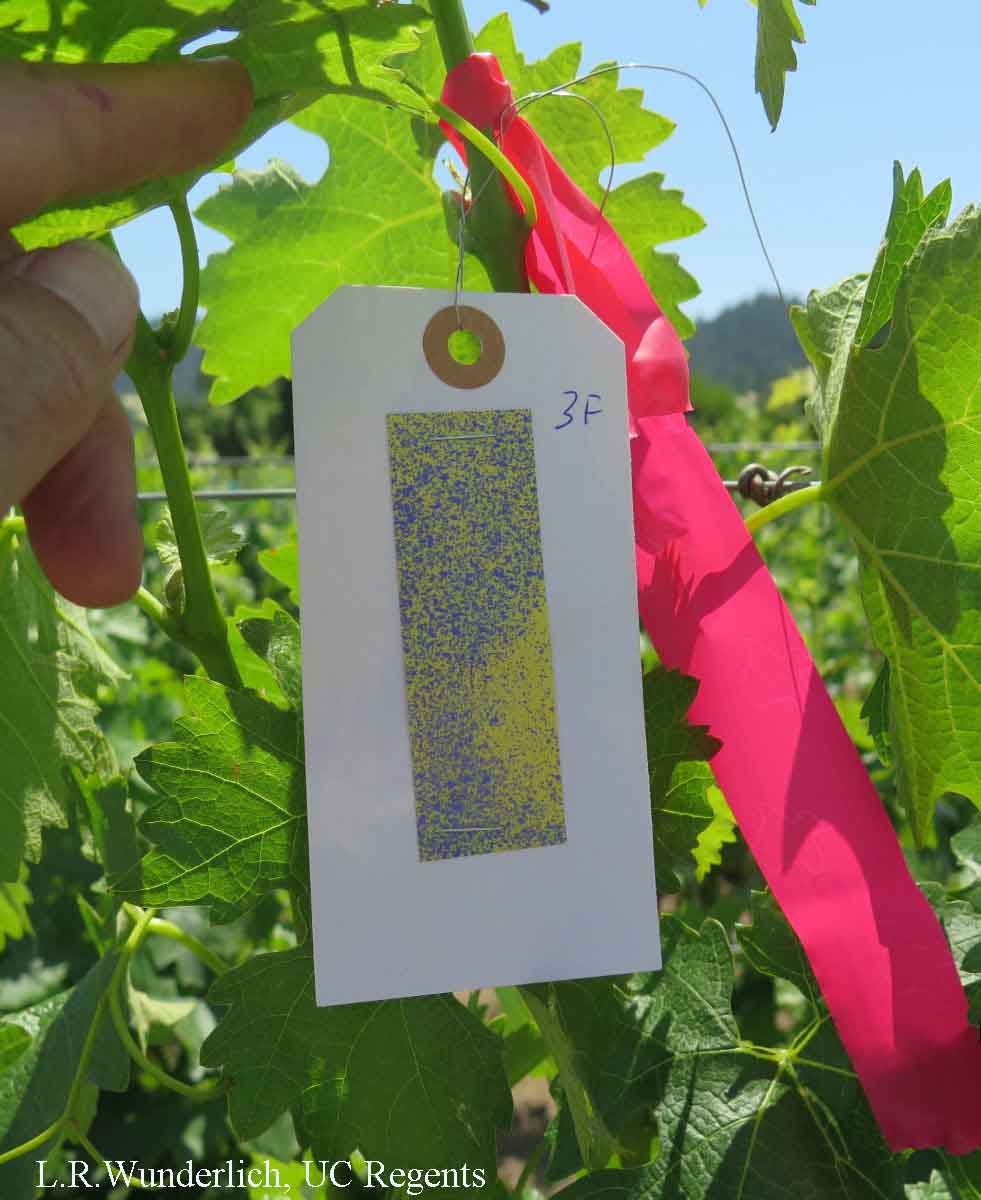
- Recheck your calibration variables by looking at spray coverage. Use water sensitive spray cards or add a visible marker like kaolin clay to the tank, to check the spray coverage once you’ve calibrated. Water sensitive spray cards used to be hard to find, but a quick check online gave me 3 results—Gemplers, Sprayer Depot and Amazon—for places to purchase.
Put the spray cards in the canopy where you are targeting your spray. You can use mailing tags, with a card stapled to each side, to easily hang them in the canopy. Hang several also in areas where you don’t want to see spray. Remember to flag the branches where the paper is hung for easy retrieval. Then, run your sprayer down the row and retrieve the cards after. Interpreting what you see on the paper can be a bit tricky—you want to look for about 85 dots per square centimeter (see https://sprayers101.com/confirm-coverage-with-water-sensitive-paper/ for a visual of what this looks like). Don’t get too caught up in how many dots though; the most important thing is that you want some dots but not a totally blue card, which would indicate too much spray; nor a totally yellow card, which would indicate not enough spray.
The cards can give you clues on adjustments to make to refine your calibration: nozzle position, nozzle flow rate, fan speed, and ground speed may need to be modified for the best efficiency! Plan to spend at least a morning on optimizing your sprayer efficiency, it will pay off in the end.


 Invading California")

